
The installation of wardrobe screws is unfamiliar to some families. Every time you buy a wardrobe, you need to install some screws. If you don't know how to install it yourself and are afraid of handing it over to the installation master, you will feel uneasy. Today, the editor will introduce to you four tips for installing wardrobe screws. I hope you will benefit a lot.
1. Preparation tools
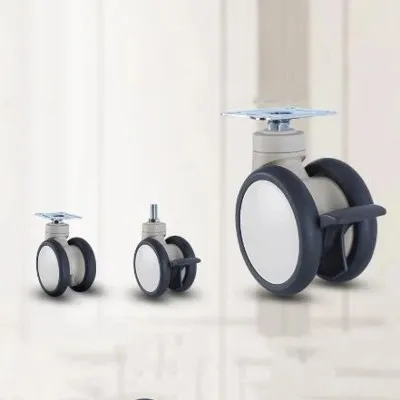
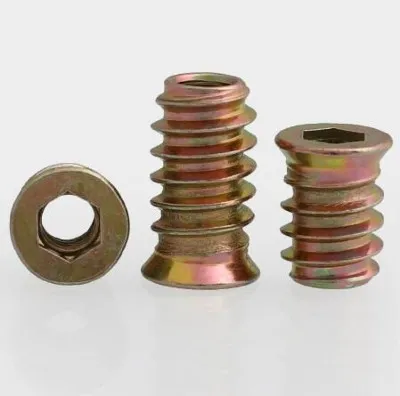
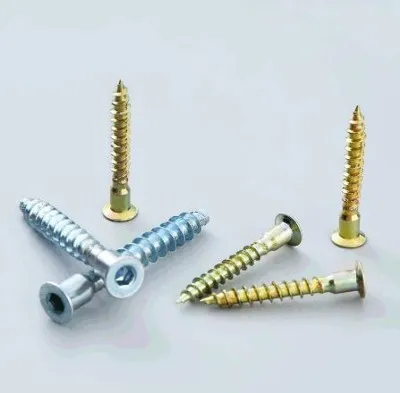
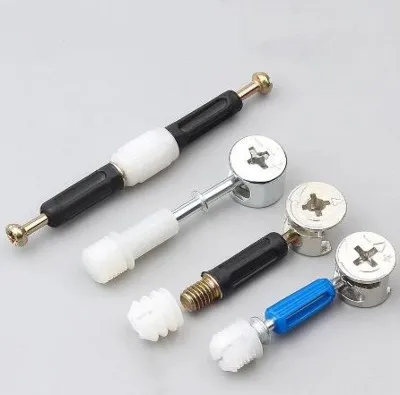
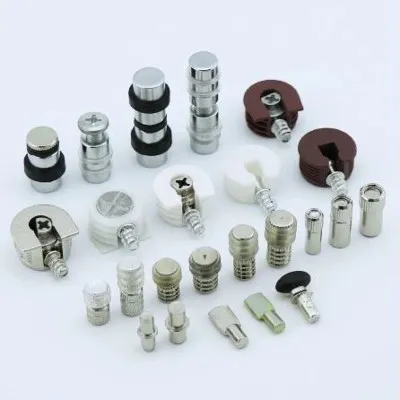
Installing wardrobe screws requires preparing many tools, including electric drills, screwdrivers, measuring rulers, screws, hammers, pliers and axes, etc. Make sure that all tools are prepared and ready for use during the actual installation process.
2. Measure the wardrobe size
Before installing the wardrobe screws, please prepare the size of the wardrobe, measure the dimensions of the cabinet and accessories, and select the appropriate location on the wardrobe surface based on the actual size.
3. Installation screws
When installing screws, first use an electric drill to drill the screw holes, then place the screws and nut nuts together in the screw holes, and then use a wrench to fix the screw nuts and nuts together to ensure they are firm.
4. Complete the installation
After installing the cabinet and accessory screws, all the screws have been installed. The next step is to adjust and assemble the wardrobe door, install the fixed handle and door magnetic seal, and finally check the tightness of each accessory and screw before installation. Finish.
The above are four tips for installing wardrobe screws. Installing wardrobe screws is actually not difficult. It only requires some basic operating skills. You can also install wardrobe screws by yourself. You no longer have to worry about not being able to install them, and you can also save a fortune.